Understanding the Difference Between 3LW and 4LW Pressure-Sensitive Films
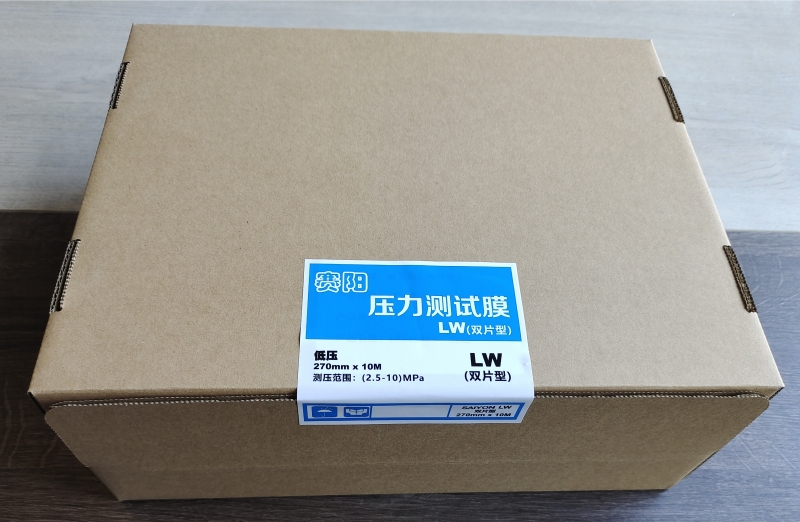
Recently, a customer asked about the difference between 3LW and 4LW pressure-sensitive films. In fact, this is mainly a matter of model numbers, which correspond to different pressure measurement ranges. Here’s a detailed explanation: Different Pressure Ranges Different Dimensions In practice, the main factor for selecting a pressure-sensitive film is the pressure measurement range. The different model numbers, such as 3LW and 4LW, indicate their specific pressure ranges—3LW for ultra-low pressure and 4LW for micro-pressure applications.